

ACO is one of Australia’s foremost manufacturers of trafficable cable pits and continuous surface ducting systems complete with a selection of lids and access covers.
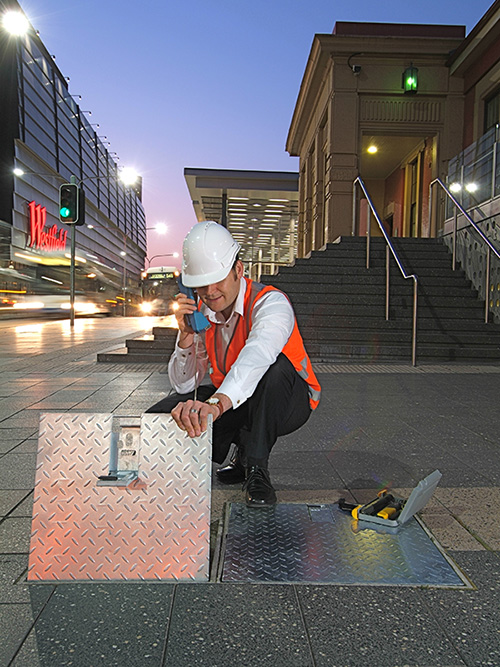
ACO cable pits are positioned on cable routes to provide branching or bending points and/or to allow access for jointing and maintenance. Common cables routed through ACO cable pits include data/communication fibre-optic cables and low voltage electrical wiring. ACO’s steel & iron access covers can be made discreet to harmonise with the building or urban environment.
Surface cable ducting systems become the cable route and allow low voltage cables and other utilities to be laid directly along a trafficable pavement. They can be continually accessed through removable lids or covers. The enclosure is typically continuous and can be made visually discreet if necessary.
The range includes:
- Rigid, lightweight, strong polymer concrete pits.
- Flexible, light duty, moulded plastic pits.
- SCEC endorsed plastic and concrete pits.
- Series Isolation Transformer (SIT) pits.
- Rigid modular (twin wall) plastic pits.
- Continuous linear surface ducting systems.
Related brands:
Industry’s widest range of enclosures, lids and covers
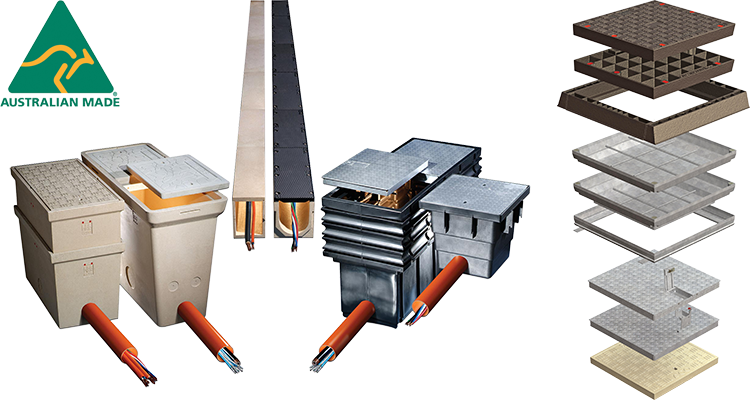
ACO offers a wide range of trafficable cable enclosures in various materials including non-conductive plastic, cement concrete and polymer concrete.
To complement this range, ACO offers a choice of lids and access covers to meet the load requirements defined by AS 3996 for all security requirements from non-locking and standard locking to patented high security designs to meet specific client and government requirements.
ACO’s cover and frame systems not only provide secure protection to their underlying enclosures but can accommodate all floor and pavement finishes whilst allowing access with minimal interference.
Case studies for ACO Cablemate solutions
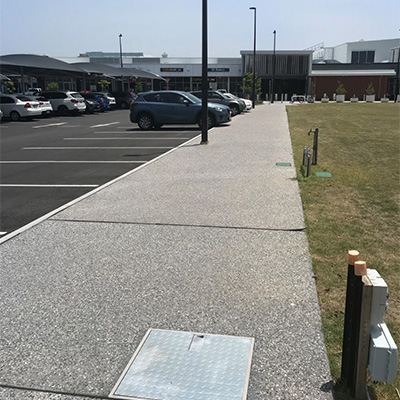
Stockland Baringa Shopping Centre, Qld
A large number of utility enclosures of varying sizes were required across the site, including communications, data, lighting, power and CCTV services.
Read more about this here.

Wellington Apartment Hotel, East Brisbane
A large electrical transformer needed to be located below ground on the first level carpark as there was limited space outside the building.
Read more about this here.
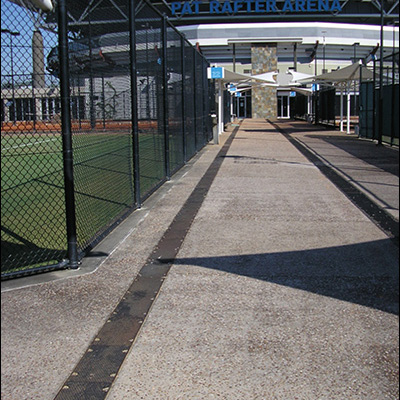
Pat Rafter Arena, Tennis Centre Qld
Designers chose a flexible communications system that allowed for the broadcasters to set-up and dismantle their external broadcast facilities as the tennis tournaments are held.
Read more about this here.